
A new word that seems to be cropping up more and more in the specialty espresso world is “pre-infusion”. What exactly is it, and why should you care
Espresso is a complex world with plenty of jargon to go around. A new one that seems to be cropping up more and more is “pre-infusion”. What is pre-infusion?
Pre-infusion is something that encroaches on more advanced territory. But fear not – I’ll put everything you need to know into simple terms. This is an article that targets more intermediate-level home baristas and brewers, but it is structured in a way that even if you’re a newbie to espresso, you can get through it with ease.
What is Pre-Infusion?
First up, my definition of pre-infusion:
Pre-infusion is the initial process of using low-pressure water to gently wet and expand the coffee puck in the portafilter, before using the full 9 bars of pressure for espresso extraction.
This minimizes channeling, promotes a more even extraction and achieves a better tasting espresso.
If that sounds complicated, that’s because it is (sort of). Don’t fret – I’ll explain.
For normal espresso extraction, 9 bars of water pressure (130 psi) is required. To achieve this, an espresso machine utilizes a powerful pump to build up that immense pressure to force it through the coffee puck.
Traditionally, the 9 bars of water pressure is maintained throughout the entire extraction time – from the moment you push start, the pump activates, until the last drop of espresso drips into your cup. Take a look at this graph:
You might have seen a graph like this before. It’s called a pressure profile graph, which shows you how the water pressure changes according to time. This version has been super-simplified, but as you can see, the 9 bars of pressure are at a constant. If you brew your espresso for 30 seconds, the pump forces the water out at 9 bars for the full 30 seconds.
Now, with pre-infusion, it’ll look like this:
When you push start, low pressure water is first allowed to gently flow in. This can be anywhere from 1-5 bars of pressure. More often than not, it’s just your normal, everyday tap water pressure. This water flows into the portafilter and soaks the bed of ground coffee until it is completely wet.
This is what we call the pre-infusion stage.
Then, after the coffee puck is fully saturated with water, we hit that 9 bars just like before. The high-pressured water then starts the actual extraction of the espresso. The first drops of liquid espresso start falling into your cup.
But why do we need it? What’s the purpose of pre-infusion?
Why Do We Need Pre-Infusion?
The concept of pre-infusion was to help mitigate problems that could occur whilst tamping.
For example, if you’ve failed to properly collapse and distribute your coffee grounds, there could be cracks or air pockets in the coffee puck. Or, if you’ve tamped unevenly, there could be a spot in the puck that’s less dense than the surrounding areas.
If the full 9 bars of water pressure directly hits a coffee puck with these issues, a phenomenon called “channeling” will occur.
Channeling is when high-pressured water finds a path of least resistance in the coffee puck to flow through, instead of evenly passing through the entire area.
Water is lazy. It will always take the path of least resistance.
So if there is a weak spot in the coffee puck, such as a crack, the high-pressured water will punch a hole in it and flow out through that channel. Or, if your coffee puck is thicker on the left side, the water will flow through the right half. Because it’s easier.
What happens if this occurs? The coffee around the channel that the water flows through will get over-extracted, whilst the rest of the bed will be under-extracted.
The result is an unevenly extracted espresso. In short, it will taste absolutely terrible.
This isn’t just something that affects rookie baristas. Even professional baristas can slip up during tamping. After all, when a barista pumps out 300+ espressos a day, fatigue and strain is bound to set in occasionally.
How Does Pre-Infusion Work?
We now know that during pre-infusion, the coffee puck in the portafilter is evenly soaked with water. When this happens, the puck absorbs the water and expands. The coffee grounds press against each other, and against the walls of the portafilter. In doing so, any micro-cracks and holes in the puck are sealed.
Thus, when the full force of the high-pressured water is driven through the puck, channeling won’t occur. The water is now forced to evenly flow through the fused puck, thus absorbing the flavours and aroma evenly.
According to an article in the International Journal of Food Sciences and Nutrition, a coffee puck that has been pre-wetted allows an increased permeability for high-pressured water to extract the espresso components (Caprioli et al., 2015).
All this means we get to create tastier espresso with much less margin for error!
When Should You Time Pre-Infusion?

Here’s a commonly asked question: should pre-infusion be included in the total extraction time? Or should it be excluded? When should you start timing your shot?
There are several trains of thought on this. The top 3 most common ones are:
- Start timing from the very beginning, one you push start or lift the lever. This means pre-infusion is included into the total brew/extraction time.
- Start timing from the moment the pump is engaged. This means you exclude pre-infusion from the extraction time, and instead start timing only when the full 9 bars of pressure are engaged.
- Start timing when the first drop of espresso hits the cup. This is similar to the second idea, with only a slight variation. Instead of timing the pre-infusion by counting, you use a visual cue.
So what’s the correct one? The answer is that there really isn’t one – all 3 are valid methods to use! What’s important is you find one that best suits you, and stick to it. Consistency is the word!
Personally, I subscribe to the first one. I include pre-infusion as part of my total extraction time. So, I start the timer as soon as I push the button or flick the lever. From experience, this is the method I’ve found to be the most intuitive. This method is probably also the most popular and commonly used one, as it’s the most straightforward.
But, if I want to experiment with how different pre-infusion durations affect the final taste of a particular coffee, I’ll go for method 2. This’ll allow me to keep the full 9 bars extraction time as a constant variable, so I can better judge how changing the pre-infusion time affects taste.
When you’re already learning about pre-infusion along your espresso journey, I highly encourage experimentation. You’re at that stage where you have a good grasp of the basics, so feel free to break away from standard brew recipes and go wild with your coffee.
Speaking of which, a question you may have is: “how long should I pre-infuse for?”
Again, there isn’t a fixed answer.
Some recommend 2-8 seconds. Some set it for up to 15 seconds.
It will vary depending on your coffee beans. The roast level, country of origin, whether it’s a blend or a single origin will all affect the final taste.
One method you can use is to first extract your espresso shot without pre-infusion.
- Start the shot, and at the same time, start the timer.
- When the first drop emerges from the portafilter, stop the timer.
- The number of seconds that has elapsed is your pre-infusion time.
This can be a good starting number if you have no idea where to begin.
Try a 30 second pre-infusion time if you want to! Talk to your local baristas – see what they have to say. Trust your tongue, and let your taste guide you to what you like.
Does My Espresso Machine Have Pre-Infusion?
This really depends on the make and model of your espresso machine.
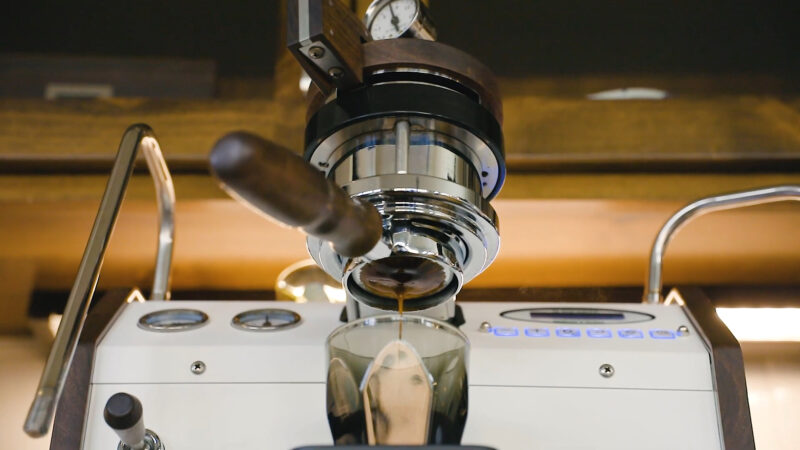
If your espresso machine has an E61 type group head, then yes, it will have pre-infusion built into the design.
E61 group heads refer to a very specific type of group head. These are found on many semi-professional, higher-end home espresso machines under brands like Rocket, ECM, Expobar, and Profitec.
For an E61 group head, simply lifting the lever to slightly above the halfway mark will start the pre-infusion. Low pressure water will be drawn in. Once you’ve infused it for your desired duration, continue lifting the lever up all the way to activate the full force of the pump.
Traditional manual lever espresso machines will most definitely have pre-infusion. If you’ve got a La Pavoni lever machine, or anything with a pull-down lever type, you’re set.
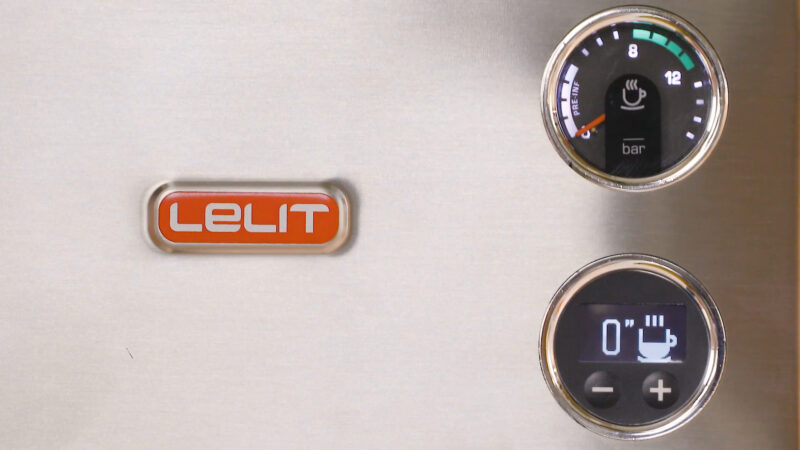
Other make and models are a bit more ambiguous. The best thing to do is to type “the model of your espresso machine” + pre-infusion into Google. Pre-infusion is a key selling feature that manufacturers will promote with pride. So it won’t be difficult to find out if your machine has it.
Breville (or Sage, for the UK) has programmable pre-infusion in many of their espresso machines. Even out of the box, models like the Barista Express and Dual Boiler have pre-infusion.
High-end ‘prosumer’ espresso machine manufacturers like Slayer leads the pack with their pre-infusion technology. They don’t quite do it the usual way, though.
Pre-Infusion: Moving Forward
Instead of just opening a valve and using water pressure from the main line, the Slayer Espresso Single Group for home utilizes something they call a “needle valve”.
The full 9 bars of pressure is engaged from the start, but the needle valve allows you to restrict how fast and how much water can flow into the puck, allowing for the pre-infusion phase to take place. Once you’re satisfied, then you raise the needle valve so the full 9 bars can flow forth.
The difference between Slayer’s pre-infusion technology is that instead of having one fixed pre-infusion pressure from the main water line like in the E61s, the barista is in absolute control of the water’s flow rate. You can move the needle in and out, as much as you like, in various combinations to really experiment and get varying results in taste.
You can start off with low pressure, ramp it up to the full 9 bars, then gently curve the pressure back down to finish it off.
So for espresso enthusiasts, they get tenfold the level of control over the pre-infusion and extraction of their espresso.
Slayer claims that this needle-valve based pre-infusion “creates real, perceptible changes in taste and aroma”.
This is just one example of the many innovations that are taking place lately in the world of specialty coffee. Pre-infusion has been around for ages since the dawn of lever-operated espresso machines, but has seen its popularity sprout up only in recent years, following rapid innovation by espresso machine manufacturers.
So what does this mean for us?
Better and better coffee!
Pre-infusion started out as a little bonus feature that would help baristas avoid channeling and uneven extraction. But the likes of Slayer has opened up a whole new world of possibilities in which we can take advantage of low pressure to highlight different flavours in our coffee. And you can be pretty darn certain other manufacturers will follow suit. The coffee industry is always growing and evolving, after all.

Pre-Infusion: A Final Word
Once again, to recap:
Pre-infusion is the initial process of using low-pressure water to gently wet and expand the coffee puck in the portafilter, before using the full 9 bars of pressure for espresso extraction.
This minimizes channeling, promotes a more even extraction and achieves a better tasting espresso.
You should now have a far more solid understanding of what pre-infusion does. Bear in mind, through, that it can only do so much. If you’ve tamped extremely unevenly, you’ll still get an uneven extraction. If you’ve banged the portafilter against the group head, pre-infusion isn’t gonna plug that massive crack in the coffee puck.
To put it bluntly, if your tamping is absolutely sh*t, no amount of pre-infusion is going to save you.
See pre-infusion as something to assist and enhance your extraction. But don’t ever see it as a replacement for proper distribution and tamping techniques. You have to learn the foundations of espresso preparation to begin with. Get it right, and pre-infusion or no pre-infusion, you’ll be well on your way to making a mean espresso shot.